You will need:
one 10 x 15 inch mailer
sissors
glue
a ruler
 |
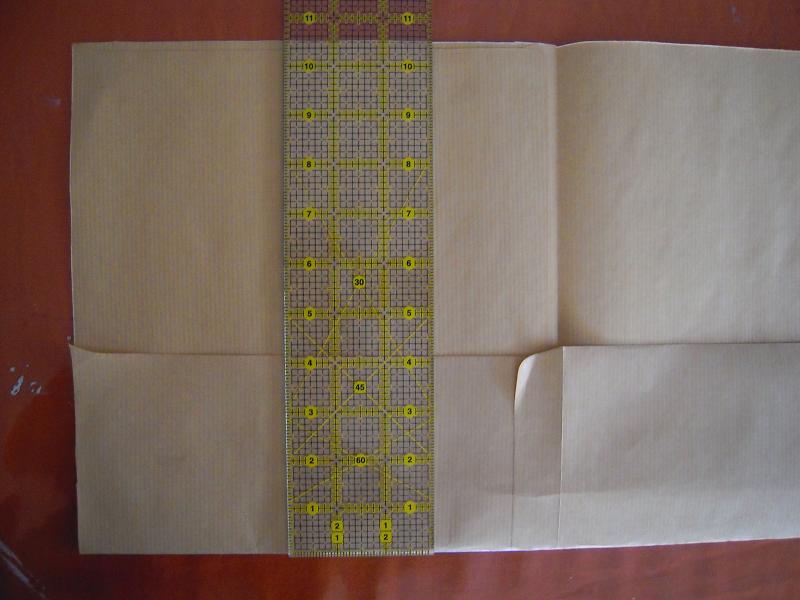
First, at the opening edge, cut along the long side of the mailer.

Then cut along the bottom of the mailer so when opened it will lay flat.

Lay open the mailer that has now been cut and fold up the bottom edge 4 inches.
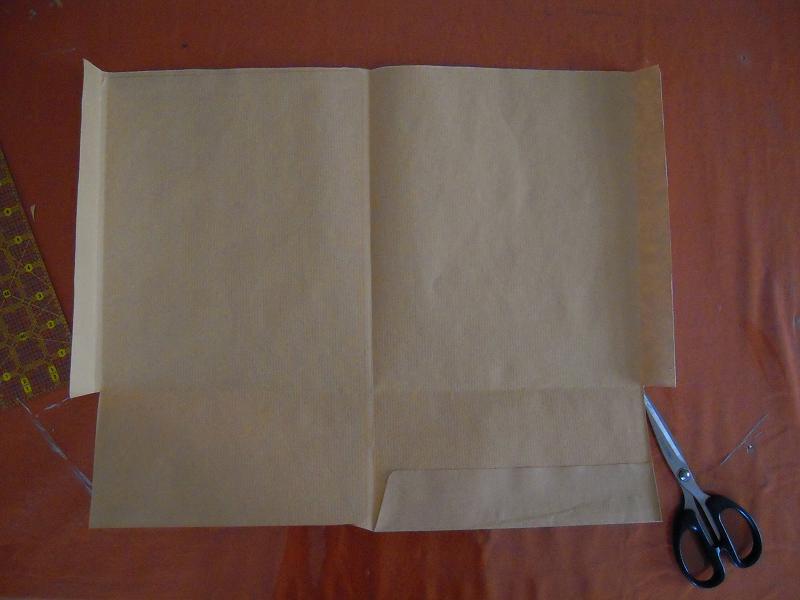
Unfold the bottom fold you just made and peel off the adhesive paper so that flap can be stuck down. If the adhesive is lacking in strength add some glue and stick it down tight. This will make a nice edge on the pocket. (I wish both sides could have one)

Fold in each of the sides 1 inch do not glue them down yet.

Cut away the one inch portion of the side which is part of the pocket flap. This is your only waste. Cool hunh?
Now glue the one inch sides down. and fold up the pocket and glue that down as well.

You are done!

The only thing left to do, is to decorate the cover.

Come take a look at our first pocket for Ancient Egypt.
Thank you for sharing this tutorial.
ReplyDelete